얼굴 검출은 원래 대표적인 머신러닝분야의 adaboost 알고리즘으로 유명합니다.
Opencv에는 이러한 얼굴검출 함수가 주어져있기 때문에 저희가 구현할 필요없이 바로바로 사용할 수 있습니다.
이번 포스팅에서는 그 사용방법에 대해서 정리하고자 합니다.
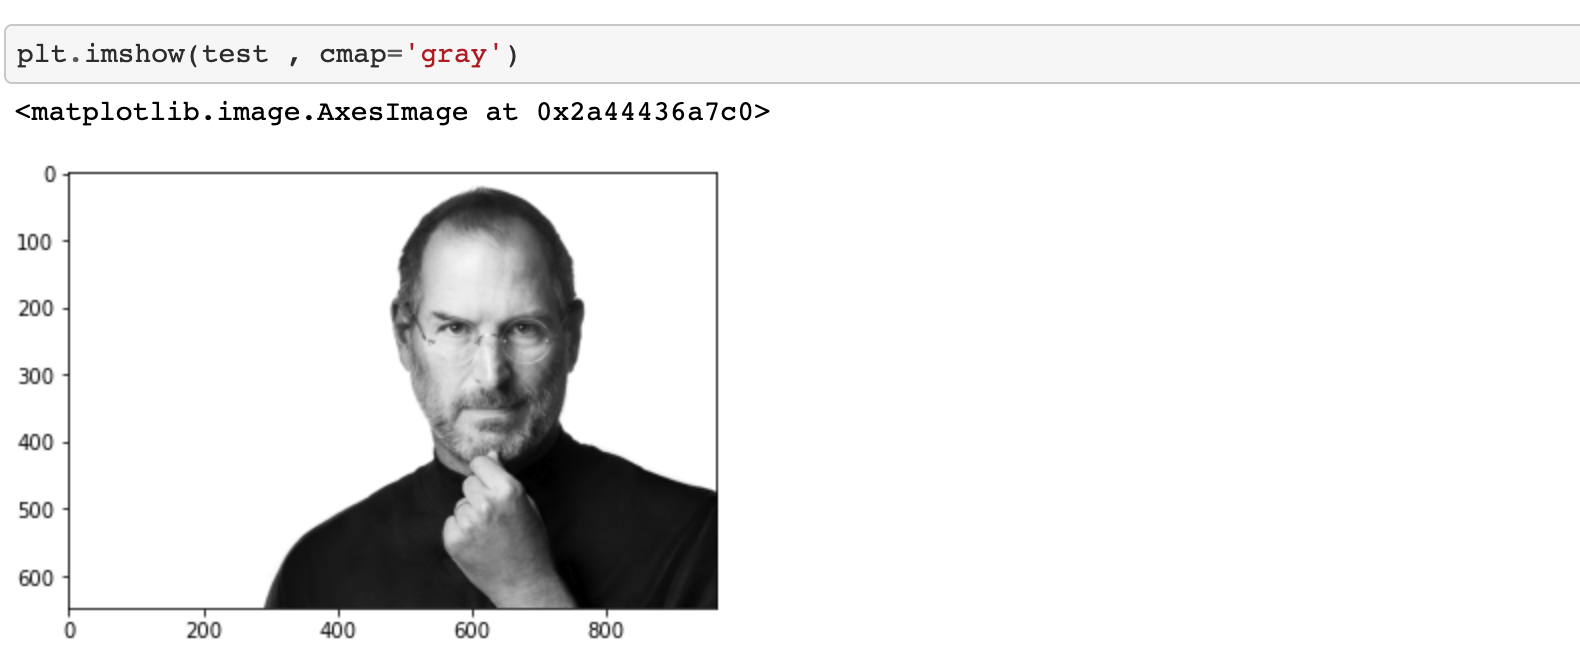
먼저 얼굴이 있는 사진을 하나를 가져오겠습니다.

먼저 얼굴 검출을 하기 위해서는 기존 이미지를 흑백으로 변경해주어야 합니다.
아래 코드에서 확인 하실 수 있다시피 저희는 cv2.cvtColor() 함수를 이용해서 기존의 사진(BGR)을 GRAY로 변경을 해주었습니다.
def getImageData(path) :

    orgImage_File = []
    grayImage_File = []

    for i in range(220) :

        image_Path = basic_Path + path + '/image_' + str(i) + '.png'

        image = cv2.imread(image_Path)

        if str(type(image)) != "<class 'NoneType'>" :

            orgImage_File.append(image)

            grayImage = cv2.cvtColor(image , cv2.COLOR_BGR2GRAY)
            grayImage_File.append(grayImage)

    return orgImage_File , grayImage_File
이제 얼굴 검출을 위한 객체를 불러옵니다.
face_classifier = cv2.CascadeClassifier('frontalFace10/haarcascade_frontalface_default.xml')
저는 "haarcascade_frontalface_default.xml" 파일을 아래의 주소에서 다운받았습니다.
alereimondo.no-ip.org/OpenCV/34/
Haar Cascades
This page contains trained classifiers for detecting objects of a particular type, e.g. faces (frontal, profile), pedestrians etc.Some of the classifiers have a special license - please, look into the files for details.
alereimondo.no-ip.org
이제 이 객체를 이용해서 얼굴이 사진에서 어디 위치에 있는지 확인해보겠습니다.
location = face_classifier.detectMultiScale(test , 1.3 , 5)[0]
location의 내용은 아래와 같습니다.

즉 흑백사진에서 탐지된 얼굴의 갯수가 n개라고 하면 shape 이 (n , 4) 인 배열인 것을 확인할 수 있습니다.
그리고 이를 이용해서 얼굴을 검출하는 방법은 아래와 같습니다.
face_Height = [location[0] , location[0] + location[2]]
face_Width = [location[1] , location[1] + location[3]]
즉 location의 하나의 원소는 길이가 4개인 1차원배열인데 이는 (얼굴의 왼쪽 위 Y , 얼굴 왼쪽 위 X , 얼굴 Y 길이 , 얼굴 X 길이) 로 구성되어있다는 것을 확인할 수 있습니다.
이제 이를 이용해서 사진에서 얼굴 부분만을 추출할 수 있습니다.
face_Image = test[face_Width[0] : face_Width[1] ,
                 face_Height[0] : face_Height[1]]
최종적으로 face_Image 를 출력해보겠습니다.

'Python' 카테고리의 다른 글
| Python - Matplotlib을 이용해서 데이터 시각화 하는 방법 (0) | 2020.11.05 |
|---|---|
| Python - 기존 그래프의 확대 부분 같이 그리기 (1) | 2020.11.01 |
| Python - Seaborn 을 이용한 Boxplot , Violinplot 그리기 (0) | 2020.11.01 |
| Python - 상관행렬을 이용한 각 속성간의 연관성 파악하기 (0) | 2020.11.01 |
| Python - 데이터프레임에서 바로 그래프 그리기 (0) | 2020.11.01 |